How to Scale Up Your Miniatures
Get Your Fingers Off the “Ctrl” and “+” Keys. Now.
It’s All Math’s Fault
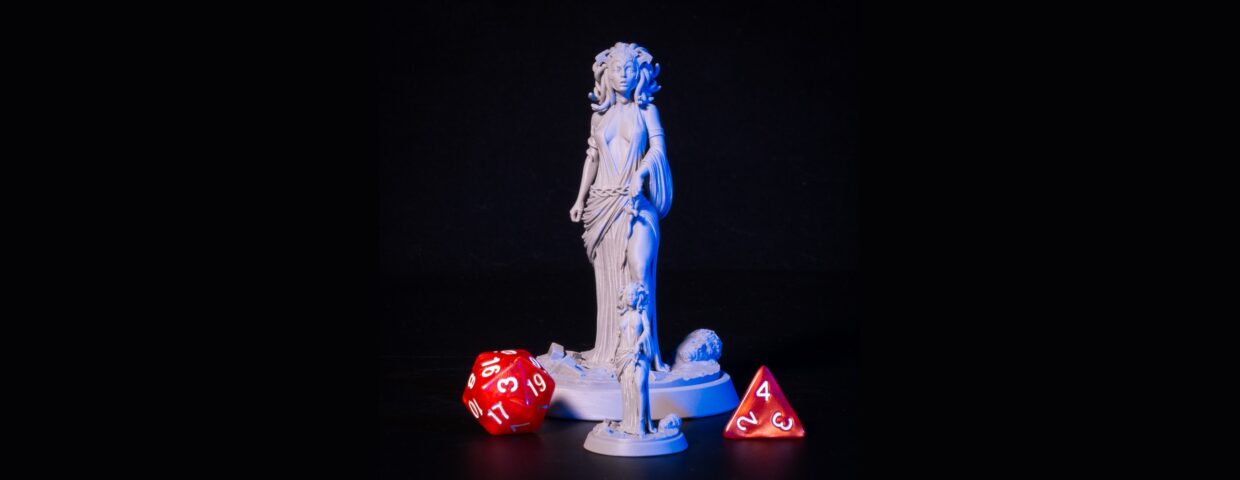
Thought you were safe and it was simple to scale up your miniatures, didn’t ya? Well, here’s a hypothetical scenario you joked about 6 years ago that’s coming back to haunt you and drain your resin reserves: the Square-cube law. As ominous as geometry sounds, it makes logical sense. If you uniformly scale a 3D object by X% obtaining (1 + X%) a linear measurement, its surface area increases by (1 + X%)² and its volume, (1 + X%)³. It becomes clearer once you see it illustrated.
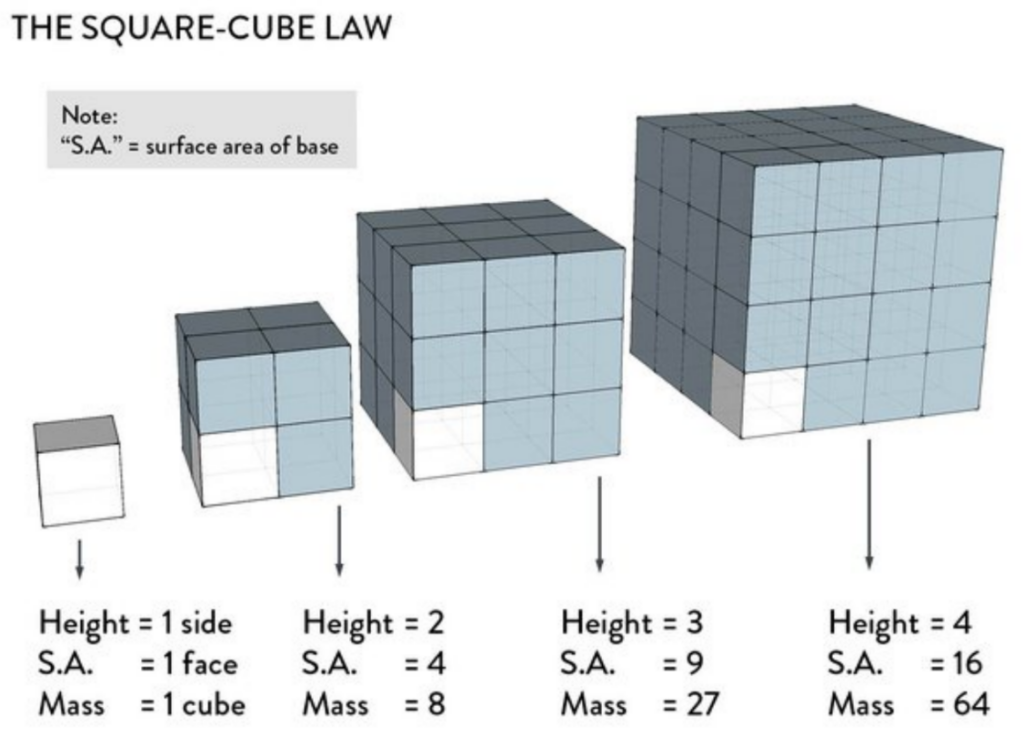
It seems like this will be an issue if one wishes to print something larger than a thumb, but it’s easy to get around it. Of course, there are some limitations applied on this process, but this post will compare the two ways we’ve done this, plus how they stand up against each other and a control model, i.e. one that was simply scaled up.
Scale Up a Solid Object, Then Hollow It Out
If you start with a 3D file that has already been hollowed out and scale that up, the once delicate material wall thickens. For a 3D miniature that won’t be subject to any stresses or loads, it’s a waste of resin and time. The first way to get around that is, as you may have guessed, is to start with a solid model on the correct dimensions to then dial in the desired wall thickness. At Loot Studios, we use 2mm. You may still spend more than necessary since the support material could have been oversized by this operation, but it’s already a step-up from the simplest option.
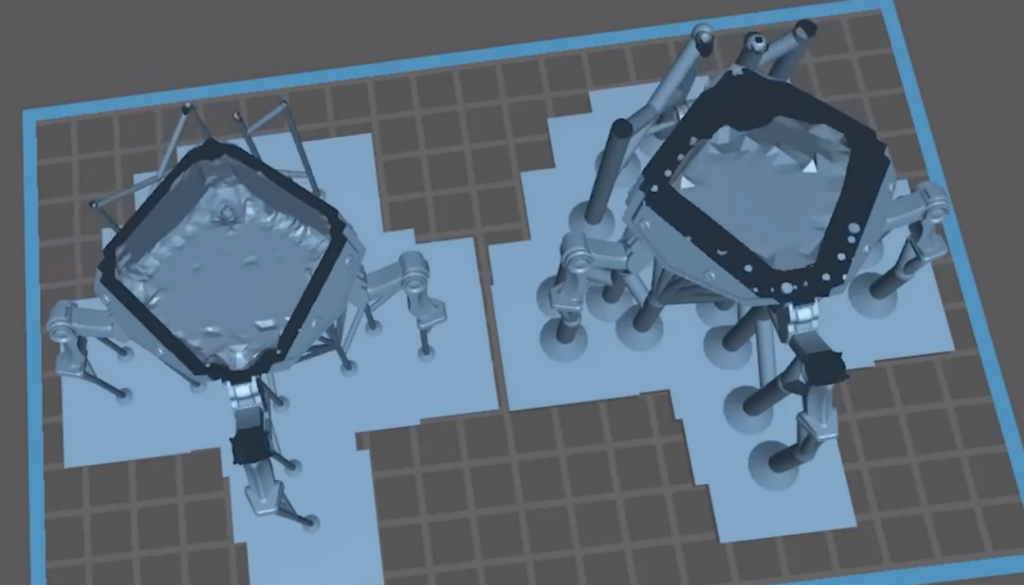
Check If You’re Not Over-engineering Supports and Rafts
This requires some extra work but once again, it may be worth it. As with before, the fine-tuning is applied this time to the support material, since it will most definitely seem bulky if you’re starting from a small object. At Loot Studios, we go through several iterations on big prints to ensure you’ll get a piece that has minimal chance of failure while trying to spend as little resin as possible.
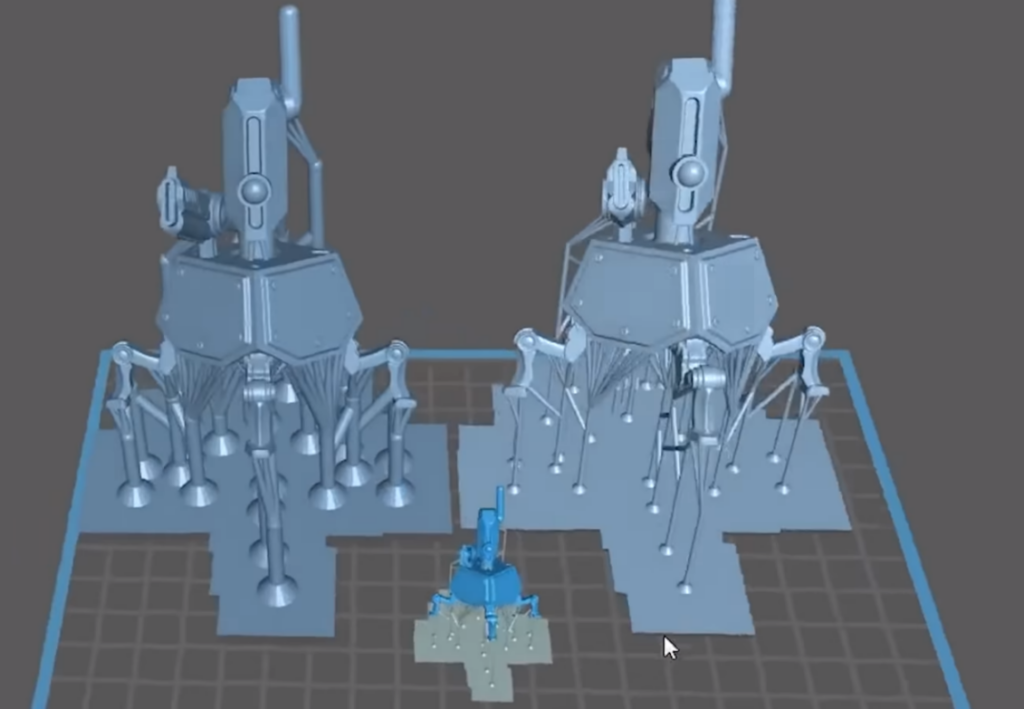
If You Want to Go Beyond the Size of Your Printer Bed…
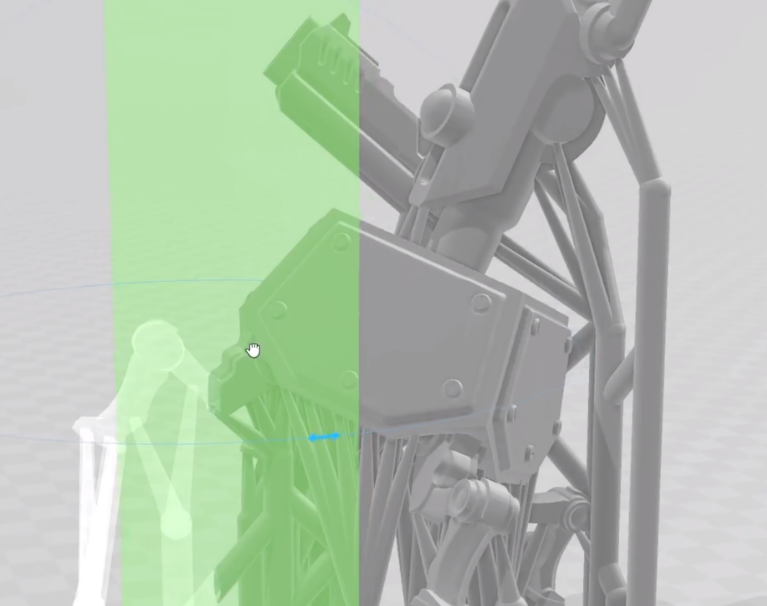
You have to chop your model into a couple of pieces. We use Zbrush for all our modeling, but almost any software that deals with 3D models has an option to cut a solid based on a section plane.
Conclusions and More Info
Scaling miniatures is not a trivial process but it proves to be very effective. Below there’s a table extracted from the video showing the results of our experiments based on the same model, printed in various sizes using different scaling methods. The whole process can be seen in more detail below:
Once you’re done with this, check our guide on post-processing.
Loot Studios can help you print highly detailed minis, statues and props. Choose your favorite bundle from our previous releases or sign up for Fantasy or Sci-Fi to receive a new bundle every month. You can also check out some tips at our YouTube Channel.


